This guide shows you how to make a delicious Oreo mug cake in minutes. We’ll cover the ingredients, why they’re important, and the simple steps to make a perfect, single-serving cake. We’ll also explore variations and answer common questions.
Understanding Mug Cakes: Quick & Easy Baking
What is a Mug Cake?
A mug cake is a single-serving cake you bake in a mug. It’s small, quick, and easy to make. You bake it in the microwave instead of an oven.
Why Mug Cakes are Easy
Mug cakes use less batter than a regular cake. The small amount cooks very fast in the microwave’s high heat. The mug’s shape also helps it cook evenly. This makes it much faster than baking a full-sized cake in an oven.
Mug Cakes vs. Traditional Cakes
Traditional cakes need an oven and take much longer to bake. They also use more ingredients and make many servings. Mug cakes are perfect for when you want a quick treat. They are also great for testing new recipes because you only make one serving at a time. You save time and ingredients by making a mug cake.
Essential Ingredients: What You’ll Need

This section lists the main ingredients for our Oreo mug cake: flour, sugar, cocoa powder, milk, oil, and Oreos. We’ll explain why each one is important and how substitutions can change your cake.
Flour Power
Flour gives the cake its structure. Without it, the cake would be too runny. All-purpose flour works best.
Sweet Success: Sugar
Sugar makes the cake sweet and helps it brown nicely. You can use white granulated sugar or even try brown sugar for a different flavor.
Cocoa Magic
Cocoa powder adds that rich chocolate flavor we love. Unsweetened cocoa powder is best for controlling sweetness.
Milk it: The Liquid
Milk adds moisture and helps bind the ingredients together. Any kind of milk works, but whole milk usually gives the best texture.
Oily Goodness
Oil keeps the cake moist. Vegetable oil or canola oil are good choices.
Oreo Crunch
Oreos add delicious chocolate flavor and a satisfying crunch. You can use other cookies if you like! Experiment and see what tastes good.
Ingredient Swaps
Want to try something different? Feel free to experiment! Using different types of milk, sugar, or even adding extracts like vanilla can create new flavors. Remember that using different flours can change the texture.
Preparing the Oreos: Crushing and Mixing
Crushing Your Oreos
Crushing Oreos is easy! You can do it by hand, putting them in a zip-top bag and smashing them with a rolling pin or heavy object. For a finer crush, use a food processor. If you want bigger chunks, just use your hands. How you crush them changes the cake’s texture. Finely crushed Oreos make a smoother cake, while bigger pieces add a fun crunch.
Mixing the Ingredients
Once your Oreos are crushed, it’s time to mix everything. The order isn’t super important, but it’s usually easiest to start by combining the dry ingredients: flour, sugar, and cocoa powder. Whisk them together in your mug to make sure there are no lumps. Then, add the milk and oil, and stir well until everything is combined and smooth. Finally, gently fold in the crushed Oreos. Don’t overmix; a few small Oreo pieces are fine.
Ingredients
| Ingredients | Quantity | Note |
|---|---|---|
| Flour | 3 tablespoons | All-purpose flour works best |
| Sugar | 2 tablespoons | Granulated or brown sugar |
| Cocoa Powder | 1 tablespoon | Unsweetened cocoa powder |
| Milk | 3 tablespoons | Any kind of milk will work |
| Oil | 1 tablespoon | Vegetable or canola oil |
| Oreos | 3-4 Oreos | Crush them before adding them to the batter |
Mixing the Batter: Step-by-Step Instructions

Combining Dry Ingredients
First, put the flour, sugar, and cocoa powder in your mug. Use a fork to mix them well. This makes sure there are no clumps.
Adding Wet Ingredients
Next, add the milk and oil to the mug. Stir everything together until it’s smooth.
Adding Oreos
Finally, gently mix in your crushed Oreos. Don’t overmix; a few small pieces are okay. Overmixing can make the cake tough.
Important Mixing Notes
The order of mixing isn’t super important, but this way makes it easier. Mixing the dry ingredients first helps prevent lumps. Adding the wet ingredients next creates a smooth batter. Gently folding in the Oreos keeps them from getting completely smashed.
Microwave Baking: Time and Temperature
Microwave Baking Time
Microwave ovens vary. Baking times depend on your microwave’s power. A typical mug cake needs 1-2 minutes. Start with one minute, then check. If it’s not done, cook in 15-second intervals until it’s set.
Power Level Settings
Most microwaves have power level settings. A higher power level cooks faster. A lower setting cooks slower and may help prevent burning. Experiment to find what works best with your microwave. If your cake is burning on the outside but gooey inside, try a lower power.
Adjusting Cooking Time
Your cake’s size and your microwave’s power affect cooking time. A bigger mug might need a little more time. An older microwave may need slightly longer. Watch your cake closely. It’s done when a toothpick inserted in the center comes out clean. Don’t overcook!
Signs of a Perfectly Baked Mug Cake
A perfectly baked mug cake springs back gently when you touch the top. The edges should look set, and the center should be moist but not runny. If the top is dry and cracked, you might have overcooked it.
Cooling and Serving: The Finishing Touches
Cooling Your Mug Cake
Let your mug cake cool for a minute or two after you take it out of the microwave. This lets the inside set a little more. It’s still warm and gooey, but not so hot that it burns your mouth!
Adding Toppings
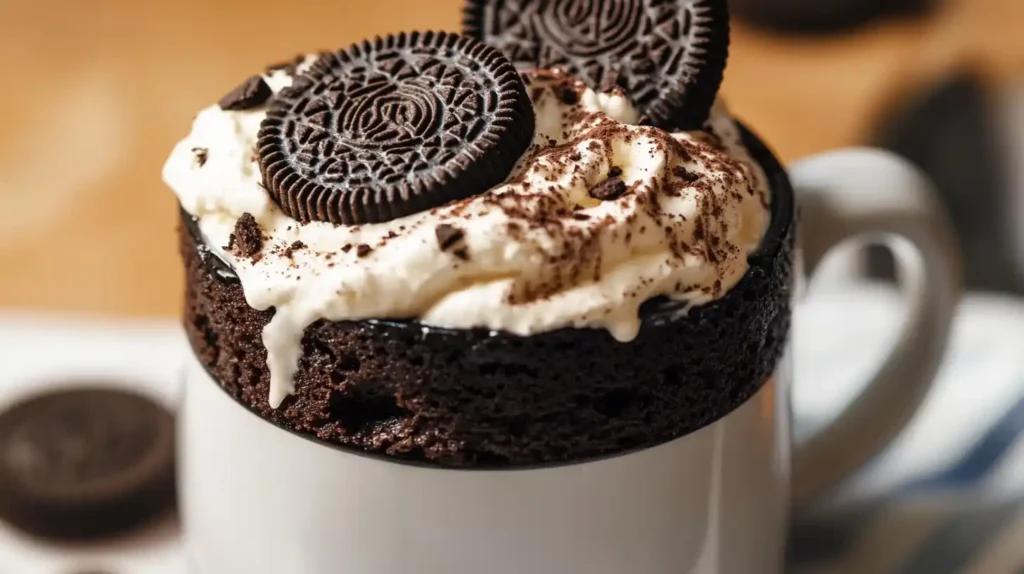
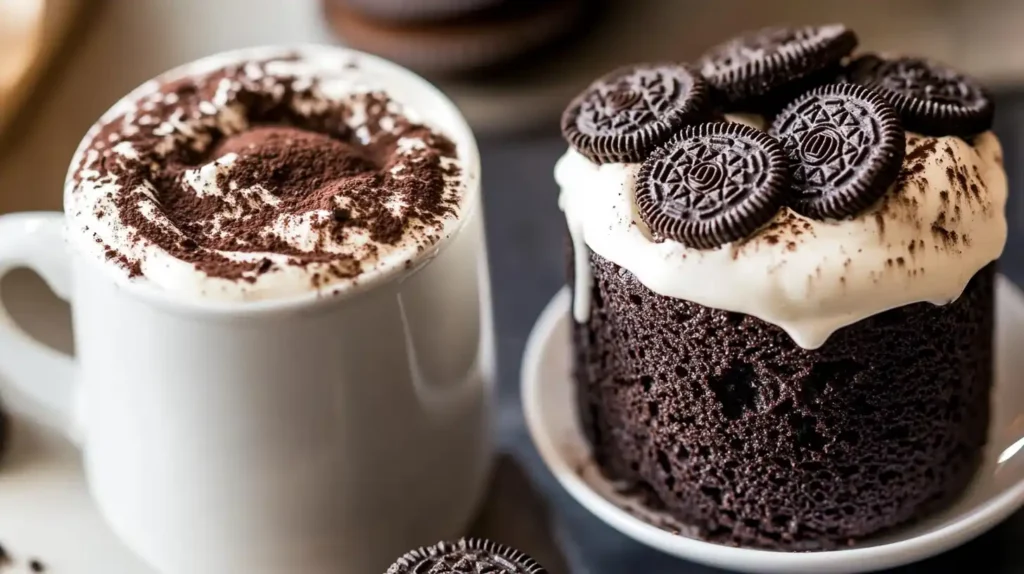
Once it’s cool enough, you can add your favorite toppings. Whipped cream is a classic choice. A scoop of vanilla ice cream also tastes great. Of course, extra crushed Oreos add more chocolatey crunch! You can get creative. Try different things like sprinkles, chocolate syrup, or even fresh fruit.
Serving Suggestions
Your Oreo mug cake is best enjoyed immediately after it’s cooled slightly. It’s a single serving, so it’s perfect for a quick treat anytime.
Variations and Flavor Tweaks
Chocolate Chip Choices
Change up the chocolate! Try milk chocolate chips, dark chocolate chips, or even white chocolate chips instead of Oreos for a different taste. Mini chocolate chips work well too.
Nutty Additions
Add chopped nuts for extra crunch and flavor. Pecans, walnuts, or almonds all work. Just add a tablespoon or two to the batter before microwaving.
Extract Experimentation
Vanilla extract, almond extract, or peppermint extract can add a special flavor. Start with ½ a teaspoon and add more to taste if you like.
Peanut Butter Oreo Mug Cake
For a peanut butter twist, add 1 tablespoon of peanut butter to the batter along with your crushed Oreos. The peanut butter adds a delicious salty-sweet flavor.
Other Cookie Creations
Instead of Oreos, experiment with other chocolate cookies. Try different brands or even different types of cookies, like chocolate sandwich cookies. The flavor will change but the cake will still be delicious.
Troubleshooting: Common Problems and Solutions
Overcooked Mug Cakes
Sometimes, mug cakes get too dry. This happens when they cook for too long in the microwave. High microwave power can also cause this. To prevent this, watch your cake carefully. Start with less cooking time, and add short bursts of time until it’s done. A toothpick inserted in the center should come out clean. If the top is cracked or very hard, it’s overcooked. Try using a lower microwave power setting next time.
Undercooked Mug Cakes
A gooey, uncooked center means your cake didn’t cook long enough. This might happen with low microwave power or if you use a large mug. To fix this, add more cooking time in short bursts. Check often to prevent burning. Using a smaller mug will also help it cook faster and more evenly.
Lumpy Mug Cakes
Lumps in your batter happen when you don’t mix the dry ingredients well enough before adding the wet ingredients. Make sure to mix the flour, sugar, and cocoa powder thoroughly before adding milk and oil. This prevents clumps from forming.
Unevenly Cooked Mug Cakes
If one part of your cake is cooked more than another, your microwave might not heat evenly. Try rotating the mug halfway through cooking. Using a smaller mug can help, too, as it cooks faster and more evenly.
Frequently Asked Questions
How long does it take to make an Oreo mug cake?
It takes about 2 minutes to make an Oreo mug cake, plus a couple of minutes to cool. The exact time depends on your microwave’s power.
Can I use a different type of cookie?
Yes! You can experiment with other chocolate cookies instead of Oreos. The flavor will change, but it will still be a delicious mug cake.
What if my mug cake is too dry?
This usually means you overcooked it. Try using a lower microwave power setting or reducing the cooking time next time.
What if my mug cake is too gooey in the middle?
Your cake likely needs more cooking time. Add short bursts of cooking time until the center is cooked through. Check with a toothpick; if it comes out clean, it’s done.
Can I use a different type of milk?
Yes, any type of milk works. Whole milk often gives the best texture, but you can use whatever you prefer.
Enjoy Your Delicious Oreo Mug Cake!
Finishing Touches
Let your cake rest for a minute or two. This helps it set. It will still be warm and yummy, but not too hot! Now for the fun part: toppings! Whipped cream is always a good choice. Ice cream is another great option. Of course, extra crushed Oreos add extra chocolate crunch! Get creative! Try sprinkles, chocolate syrup, or even some fruit.
Serving It Up
Your Oreo mug cake tastes best right away, while it’s still warm. It’s the perfect single serving treat, so enjoy! This guide helped you make a quick and easy Oreo mug cake. Remember to follow the instructions carefully, and enjoy your delicious treat!

Easy Oreo Mug Cake
Equipment
- Mug
- Fork
- Microwave
- Toothpick (optional)
Ingredients
- 3 tablespoons flour All-purpose flour works best
- 2 tablespoons sugar Granulated or brown sugar
- 1 tablespoon cocoa powder Unsweetened cocoa powder
- 3 tablespoons milk Any kind of milk will work
- 1 tablespoon oil Vegetable or canola oil
- 3-4 Oreos Crush them before adding them to the batter
Instructions
- Put the flour, sugar, and cocoa powder in your mug. Use a fork to mix them well.
- Add the milk and oil to the mug. Stir everything together until it’s smooth.
- Gently mix in your crushed Oreos. Don’t overmix; a few small pieces are okay.
- Microwave for 1-2 minutes, or until a toothpick inserted in the center comes out clean. Check frequently after 1 minute, adding 15-second intervals as needed.
- Let your mug cake cool for a minute or two before adding toppings and serving.

