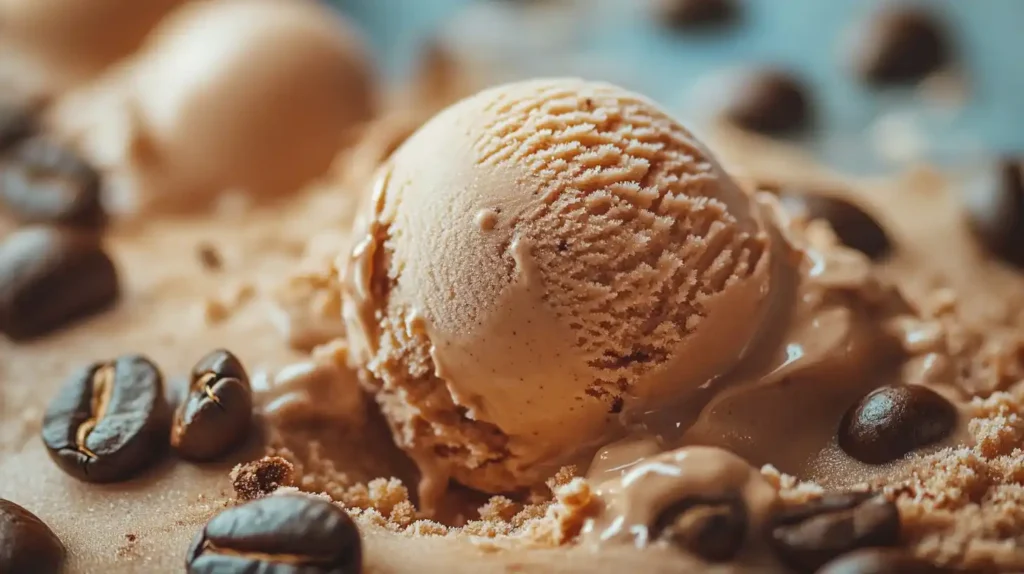
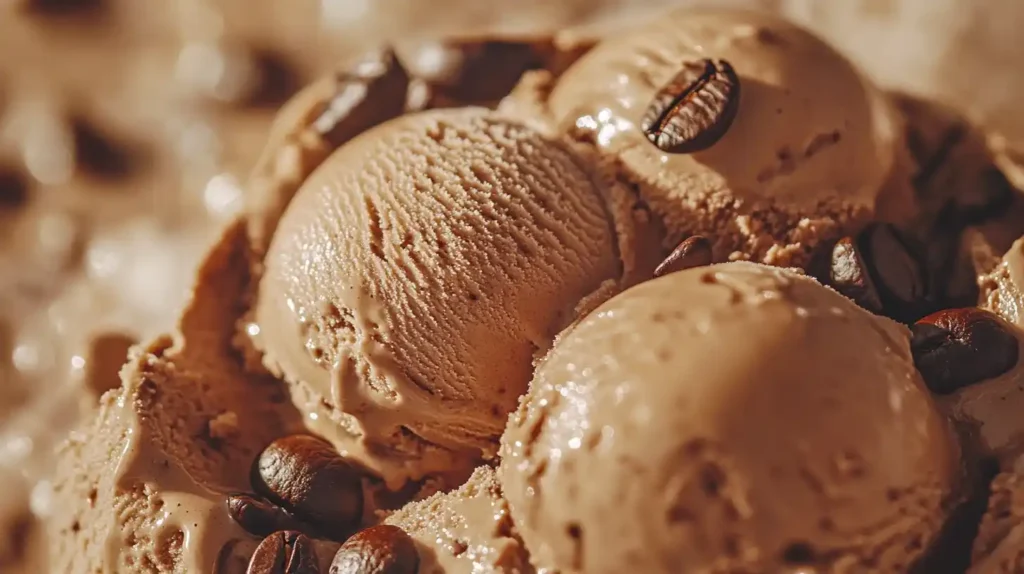
This guide provides a detailed exploration of making homemade coffee ice cream. We’ll cover the science behind ice cream making, various coffee choices, ingredient selection, techniques for achieving optimal texture, and troubleshooting common issues. We’ll also explore variations and flavor enhancements.
Understanding Ice Cream Fundamentals: From Science to Scoop
Fat, Sugar, and Air: The Creamy Trinity
Sugar lowers the freezing point, meaning your ice cream freezes slower and stays softer. Air, whipped in during churning, adds volume and lightness. The amount of air is called overrun.
Freezing and Churning: The Science of Smoothness
Ice cream freezes slowly to avoid big ice crystals. Churning mixes air into the ice cream and keeps those crystals small. Hand-cranked ice cream makers require more effort but give you control. Electric models do the work for you, making larger batches faster.
Chilling and Temperature Control
Chilling your ingredients before churning is important. Cold ingredients freeze better and help make smoother ice cream. The temperature of your ice cream maker also matters. Following the maker’s instructions helps you get the best results.
Choosing Your Coffee: Brew Methods and Flavor Profiles
Brewing Methods for Ice Cream
Different coffee brewing methods change the coffee’s taste and strength. Espresso is very strong and concentrated. Drip coffee is milder. Cold brew is smooth and less acidic. Instant coffee is convenient but might taste weaker. For ice cream, strong coffee like espresso adds a deep coffee flavor, while milder methods give a lighter taste. The best choice depends on your taste.
Coffee Bean Selection: Roast and Origin
The type of coffee bean matters, too. The roast level affects the flavor. Dark roasts have bold, sometimes bitter, flavors. Light roasts taste brighter and more acidic. The bean’s origin also impacts the taste. Some beans have chocolatey notes; others are nutty or fruity. These flavors show up in your ice cream.
High-Quality Coffee for the Best Ice Cream
Using good-quality coffee beans makes a big difference. The better the coffee, the better your ice cream will taste. Freshly roasted beans usually taste best. Avoid using old or stale coffee.
Essential Ingredients: Quality and Quantity
Cream: The Foundation of Creaminess
The type of cream greatly affects your ice cream’s texture. Heavy cream has the most fat, leading to a richer, smoother ice cream. Half-and-half has less fat, resulting in a lighter texture. Choose based on your preference.
Sugar: Sweetness and Texture
Sugar is crucial for sweetness and preventing ice crystals. Granulated sugar is common, but powdered sugar dissolves faster. Honey or maple syrup can add unique flavors but may slightly alter the texture. Adjust the amount based on your sweetness preference.
Eggs: Richness and Emulsion
Egg yolks add richness and creaminess. Using only yolks creates a smoother, more luxurious ice cream. Pasteurized eggs are safer, but using fresh, high-quality eggs can make a difference in flavor.
Vanilla Extract: Enhancing the Flavor
High-quality vanilla extract enhances the coffee flavor. Pure vanilla extract is best. Adjust the amount based on your preferred intensity.
Coffee: The Star Ingredient
The coffee you choose impacts the ice cream’s overall taste. Strong coffee, like espresso, creates a deep coffee flavor. Milder brews create a lighter taste. Use freshly brewed, high-quality coffee for the best results.
| Ingredients | Quantity | Note |
|---|---|---|
| Heavy Cream | 2 cups | Use more for richer texture. |
| Granulated Sugar | ¾ cup | Adjust to taste. |
| Egg Yolks | 4 large | Use only yolks for a richer texture. |
| Vanilla Extract | 1 teaspoon | Use pure vanilla extract for best flavor. |
| Strong Brewed Coffee | 1 cup | Use freshly brewed, high-quality coffee. |
Dairy-Free Alternatives
For those with dairy allergies or dietary restrictions, consider using dairy-free cream alternatives like coconut cream or oat cream. Be aware that the texture might differ slightly. Always check the product labels and follow package instructions.

Crafting the Coffee Ice Cream Base: Recipes and Techniques
Making the Coffee Custard
This part shows you how to make the creamy base for your coffee ice cream. We’ll use cream, sugar, eggs, and coffee. First, gently heat the cream and sugar together. Don’t let it boil. Then, slowly add this warm mixture to the eggs. This is called tempering. Tempering prevents the eggs from scrambling. Stir constantly as you add the warm mixture to the eggs. Next, add your brewed coffee. Stir everything well to combine.
Avoiding Bitter Coffee Ice Cream
Using high-quality coffee is key. Brew your coffee strong, but don’t over-brew it. Over-brewing can make your ice cream bitter. Let the custard cool completely before putting it in the refrigerator. This helps prevent ice crystals and ensures a smooth texture.
Chilling and Churning
After the custard cools, chill it for at least 4 hours, or even overnight. This step is important for making smooth ice cream. Once chilled, churn the mixture according to your ice cream maker’s instructions.
Smooth Ice Cream: Tips and Tricks
For the smoothest ice cream, use heavy cream. It has more fat, making the ice cream creamier. Make sure to fully incorporate the coffee into the custard to avoid uneven flavor. If your custard curdles (separates into clumps), you might have added the hot cream to the eggs too quickly.
Recipe Variations
You can easily change the sweetness and strength of your coffee ice cream by adjusting the amounts of sugar and coffee. Experiment to find your perfect blend! Try different types of coffee beans for unique flavors.
Churning and Freezing: Achieving Optimal Texture
Ice Cream Maker Methods
Different ice cream makers work in different ways. Hand-cranked models need you to turn a crank. Electric models do the work automatically. Follow your maker’s instructions carefully. Churning time matters. Too little, and your ice cream will be icy. Too much, and it might be melted.
Freezing for Smoothness
Freezing your ice cream base slowly is key to a smooth texture. Rapid freezing makes big ice crystals. Slow freezing keeps them small, giving you creamy ice cream. Start with cold ingredients. This helps the freezing process.
Preventing Ice Crystals
To avoid ice crystals, keep your ice cream base very cold before churning. Use a cold ice cream maker bowl, too. Don’t over-churn. Stop churning when the ice cream reaches the right consistency. This is usually soft-serve consistency.
Hardening Your Ice Cream
Once the ice cream is churned, put it into an airtight container. This keeps air out and prevents ice crystals from forming. Freeze it until solid. The amount of time it takes depends on your freezer. Check it regularly!
Flavor Enhancements and Variations: Beyond the Basics
Sweet and Savory Additions
Adding things like chocolate chips or nuts (pecans, walnuts) gives your coffee ice cream more flavor and texture. Swirls of caramel or chocolate add sweetness. Spices, such as cinnamon, can add warmth.
Creative Coffee Ice Cream Variations
Want to change things up? Try making mocha ice cream by adding chocolate to your base recipe. For Irish cream ice cream, stir in some Irish whiskey or liqueur. If you prefer a lighter ice cream, make coffee gelato. Gelato uses less cream and more milk.
Balancing Flavors
Remember that all these extra things change how your ice cream tastes. Too much chocolate might make it too rich. Too much spice might make it too strong. Start by adding a small amount of your chosen addition, then taste and adjust as needed to find the perfect balance. Experiment to discover your favorite combinations!
Troubleshooting Common Issues: Fixing Problems and Avoiding Mistakes

Icy Texture
Icy ice cream means it froze too fast. Make sure your ice cream base is very cold before churning. A cold ice cream maker bowl helps, too. Also, don’t over-churn.
Gritty Texture
A gritty texture might mean the sugar didn’t dissolve completely. Use powdered sugar, which dissolves faster than granulated sugar. Make sure you mix everything well.
Overly Sweet or Bitter Flavors
Too sweet? Use less sugar next time. Too bitter? Use less coffee, or try a milder brew. Freshly roasted beans usually taste best. Avoid using old or stale coffee.
Over-Churning
Over-churning makes ice cream soft and sometimes melts. Follow your ice cream maker’s instructions carefully. The ice cream should be soft-serve consistency when you stop churning.
Not Enough Churning
If you don’t churn enough, the ice cream will be icy. Churn until it’s soft-serve consistency. This mixes air in, making it creamy.
Storage and Serving: Tips for Enjoying Your Creation
Keeping Coffee Ice Cream Fresh
To keep your homemade coffee ice cream delicious, store it in an airtight container in the freezer. The colder it is, the better. Aim for a temperature of 0°F (-18°C). This will help prevent ice crystals from forming. You can keep it for up to two months. To avoid freezer burn, make sure the container is well sealed. Freezer burn makes the ice cream dry and less tasty.
Preventing Freezer Burn
Freezer burn happens when ice cream is exposed to air. This causes it to dry out and lose flavor. To avoid this, press plastic wrap directly onto the surface of the ice cream before putting on the lid. This creates an extra barrier against air.
Serving Suggestions
Serve your coffee ice cream in bowls or cones. Add toppings like whipped cream, chocolate sauce, or fresh berries for extra flavor and fun. You can even make a coffee ice cream sundae! Get creative! A simple scoop of ice cream looks nice on a dessert plate with a small garnish.
Presentation Ideas
For a fancier look, use a small ice cream scoop to make neat scoops. Place them in individual bowls or small glasses. Garnish with a chocolate shaving, a sprinkle of coffee powder, or a small sprig of mint. A simple presentation can look elegant.
Frequently Asked Questions
Can I use decaffeinated coffee?
Yes, you can use decaffeinated coffee. The flavor will be milder, but it still works well in ice cream.
How long does homemade coffee ice cream last?
Homemade coffee ice cream lasts for about two months in an airtight container in the freezer. Make sure it’s tightly sealed to prevent freezer burn.
What if my ice cream maker breaks down?
If your ice cream maker breaks down, you can try freezing the mixture in a shallow container, stirring it every hour to break up ice crystals. This method is less efficient and may result in a less smooth texture.
Can I use different types of cream?
You can experiment with different creams. Heavy cream will give you the richest, smoothest ice cream. Half-and-half will result in a lighter texture. Dairy-free alternatives, such as coconut cream or oat cream, can also be used, but the texture might change.
What if my ice cream is too icy?
If your ice cream is too icy, this means it likely froze too quickly. Make sure the mixture is well-chilled before churning, and don’t over-churn it. A cold ice cream maker bowl also helps.
Enjoy Your Homemade Coffee Ice Cream
Serving and Storing Your Coffee Ice Cream
Keep your ice cream in an airtight container in the freezer. A cold freezer helps it stay smooth. It should last for about two months. To avoid freezer burn (dry ice cream), press plastic wrap onto the ice cream before putting on the lid. This keeps air out.
Creative Serving Ideas
Serve your ice cream in bowls or cones. Add fun toppings like whipped cream, chocolate sauce, or berries. Make a sundae! For a fancy look, use a small scoop and put the ice cream in pretty glasses or bowls. Add a chocolate shaving or a sprinkle of coffee powder for a nice touch.
This guide showed you how to make delicious homemade coffee ice cream. You learned about the science of ice cream, how to choose your ingredients, and how to get the best texture. Following these steps helps you make a treat that tastes even better than store-bought ice cream.

